Ever since Arduino first captured the imagination of the world I have harboured the desire to learn and master the art of hardware hacking. Actually, even before the Arduino, I wished to know more about the devices that I programmed, almost exclusively microprocessors, and to be able to create new solutions using hardware and not just software. My thought, at that stage, was that I would first need to learn electronics and electrical theory before being able to start building circuit boards.
Arduino's Abstract Away the Engineering Behind Circuit Boards
This frame of mind made it a bit difficult to understand the Arduino when I first approached it since it requires only a basic understanding of electronics to start building new and exciting hardware solutions with it. Now I appreciate, as probably most others did right away, that the Arduino abstracts away the complexity of printed circuit boards and provides one with a Lego-like array of sensors and actuators to design and build your own hardware solutions.
The key to conceptualizing and implementing your own creation is to know what type of sensors exists, what they can do and how they work, and then imagine new ways to combine them to create something that solves a problem for you.
Perhaps someday I will still get down to designing my own printed circuit board but the Arduino is a great halfway point on that journey.
The Vision
For a while, we have had a Pac-man Ghost lamp at the office that was relocated from its position at reception when we set up our POS terminal and has since been lying around idle. It is powered by a USB connector and the thought crossed my mind it would be great to wire it up to an Arduino, throw in a distance sensor and have it light up when it detected someone moving around the reception area. Besides being cool, at least for me, it would also serve as a notification to everyone that there was some activity at reception.
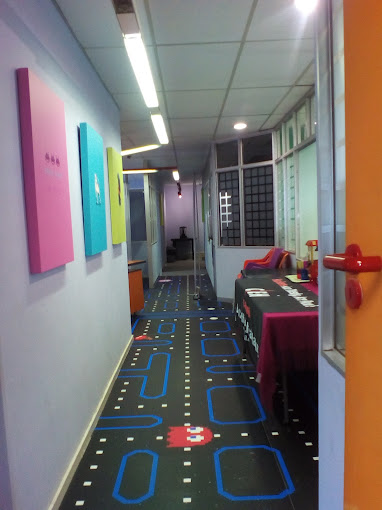
To fully appreciate the vision you need to know that we have a Pac-man-themed floor at the office.

Components Diagramme & Sketch Code
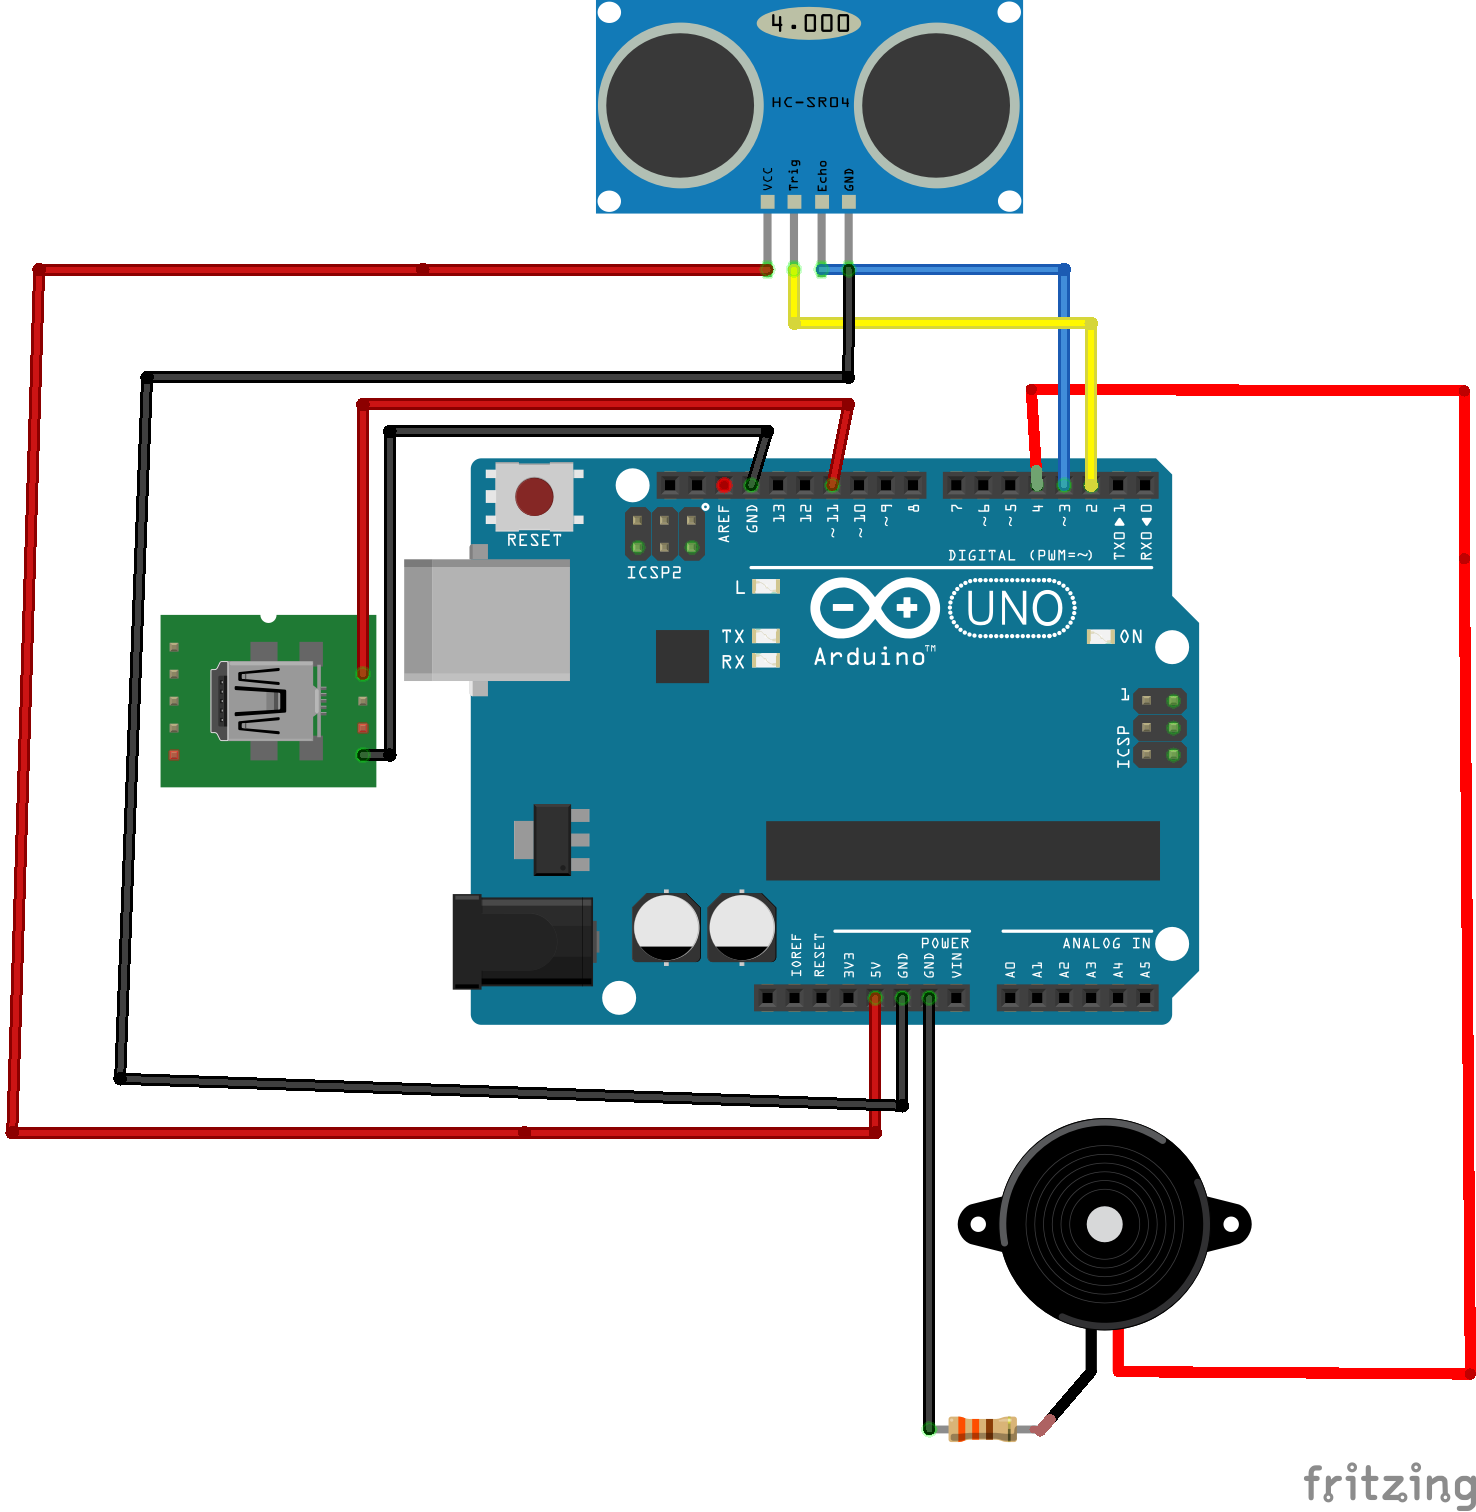
Below is a schematic diagram of the final design. It's my first time using the fritzing layout software so please forgive the skew lines. I couldn't work out how to make the connectors align correctly.

Below is the list of components used. These were selected because that's what I had on hand.
- Arduino UNO
- Ultra-Sonic SR04 Sensor
- Pezeiro buzzer
- Pac-man Ghost lamp
- Old Micro USB cable
Below is the sketch code for the Ghost Lamp Proximity Alarm
#define trigPin 2

#define echoPin 3

#define lightPin 11

#define buzzer 4
int lastDistance=0;
void setup() {
pinMode(lightPin, OUTPUT);
pinMode(trigPin,OUTPUT);
pinMode(buzzer,OUTPUT);
pinMode(echoPin,INPUT);
lastDistance=getDistance();
delay(50);
}
void loop() {

  int currentDistance = getDistance();

  //want to try minimize false alarms so only sound alarm if distance changes by 2cm

  //  and only sound alarm if object is approaching not redecing

  if (lastDistance-currentDistance>2){

    soundAlarm();

  }else {

    shutoffAlarm();

  }

  lastDistance = currentDistance;

  delay(50);

}
int getDistance(){

  digitalWrite(trigPin, LOW);

  delayMicroseconds(5);

  digitalWrite(trigPin, HIGH);

  delayMicroseconds(10);

  digitalWrite(trigPin, LOW);

  int duration = pulseIn(echoPin, HIGH);

  return duration * 0.034 / 2;

}
void soundAlarm(){

  tone(buzzer, 1000, 500);

  digitalWrite(lightPin, HIGH);

}
void shutoffAlarm(){

  digitalWrite(lightPin, LOW);

}
Step-by-Step Guide
I approached this project just like one approaches a coding task. Identify the sub-components, get them working, then integrate them and test them along the way.
The three main tasks consisted of:
- the Ghost Lamp - providing it with power and getting its LED to fire with code
- the Proximity sensor - wiring it up, getting the distance calculations correct and integrating it with the Ghost Lamp firing code
- the buzzer
The Ghost Lamp - Wiring up the USB to the Ghost Lamp
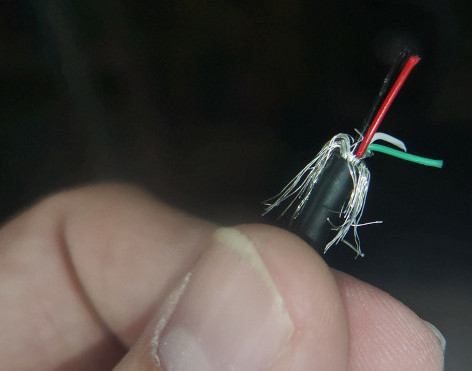
I started with snipping off the USB A connector from the USB cable. This caused me some distress as I hate destroying something that is working fine and has a useful life ahead of it.
I would have preferred to use one of those faulty USB cables that I have lying around somewhere but as Murphy knows, it's only locatable when you need a working one.
A USB cable is simple, 4 wires, 2 for sending and receiving data and 2 for ground and power. I deduced that the Ghost was not using the data transmission wires. Once stripped the 4 wires were easy to identify by their colours. Red for the 5v wire and black for the ground. The hardest part was stripping the thin wires to expose the core. Took me a few goes but I eventually got it right.
To connect the exposed wires to the Arduino UNO I soldered some male-to-male connectors I had lying about to the wires. I attached the connectors to the UNO's ground and 5V pin for a quick test. Success! The Ghost lamp lit up!
Next was to write up a quick sketch to pulse the power on one of the digital pins, rewire the live wire to the selected pin, compile and test. Again success! This is essentially the same sketch one uses in the Hello World of Arduino programming but instead of a blinking LED, I had a blinking Ghost light.
The Ultrasonic SR04 Sensor - basic distance sensing algorithm
Next was the Ultrasonic SR04 sensor. There are several types of distance sensors. The SR04 uses ultra-sonic sound waves bouncing off objects to detect their distance whilst other sensors use infrared like the infrared obstacle avoidance sensor. The IR distance sensors work with infrared and reflected light instead of sound waves.
Wiring up the Ultrasonic SR04 sensor wasn't too difficult. Like most components, it has a VCC pin and ground pin. The magic happens with the trigger and echo pins. The trigger pin initiates an ultra-sonic burst and the echo sensors detect when the signal bounces back. Using the time elapsed between triggering the ultra-sonic burst and receiving its echo and the speed of sound one can calculate an approximate distance to the nearest object. For the technical details on the SR04 Ultrasonic sensor and the timings used in the code check out the SR04 datasheet.
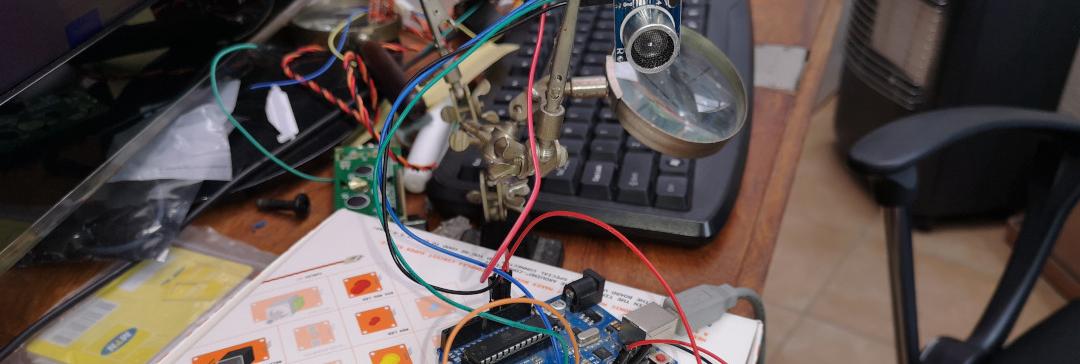
In a complex set-up, like my workspace, this was problematic as the sound waves returning to the sensor may be bouncing off some static foreground object instead of a more distant, larger moving object I am interested in.
Like if you are trying to detect someone moving closer to the sensor in a room, and its distance from the sensor, rather than just what is the nearest object in the room. At my workspace, the sensor would register a change in the distance occasionally even if no object was moving. This could be due to sound waves bouncing off objects and causing interference and arriving at odd times etc. But I am just speculating here as I am not a sound wave expert. Maybe it was detecting those evil IT gremlins that cause so many unexplained technical issues? I will test in a less complex space over the next couple of days and let you know.
The Pezeiro Buzzer
Finally, I added a Pezeiro buzzer. I hoped to be able to implement the waka-waka Pac-man sound effect but sadly my Google foo failed to find any existing code for this nor could I find any musical note notation for it. I could find the notes for the Pac-man theme tune but that is way too much typing to implement. I settled for simply sounding the buzzer when movements were detected for now. This was easy enough to integrate into the code.
Deployment
I deployed the set-up at the office. It works better than at my crowded workspace but still gives off some false alarms. After a while, the buzzer was disconnected for obvious reasons.

